How to Knead Dough by Hand
Aside from being a meditative, stress-relieving activity, there are a multitude of benefits to kneading your bread dough by hand rather than using a stand mixer or other machines. For example, you’ll notice improved texture in your final product due to better gluten formation that occurs while hand kneading. Kneading dough by hand also makes it virtually impossible to over-knead, which will prevent your bread from becoming too dense.
The key to unlocking all these benefits lies in mastering two basic kneading techniques: the French Fold and the Stretch and Fold. The French Fold takes advantage of the stickiness of wet doughs, which usually have a hydration of over 65%, while the Stretch and Fold technique is best suited for sturdier doughs that have less than 65% hydration.
What you’ll need:
• Dough scraper or bench scraper
• Clean, dry countertop
• Clean, dry hands
• Bread dough
Steps:
French Fold
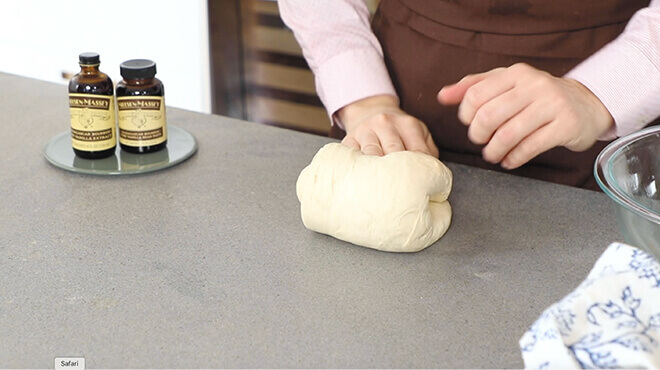
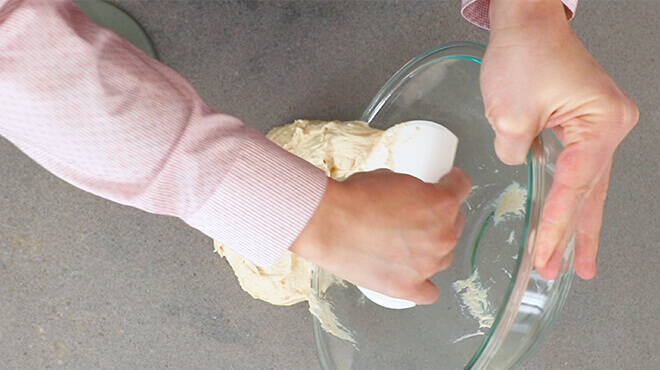
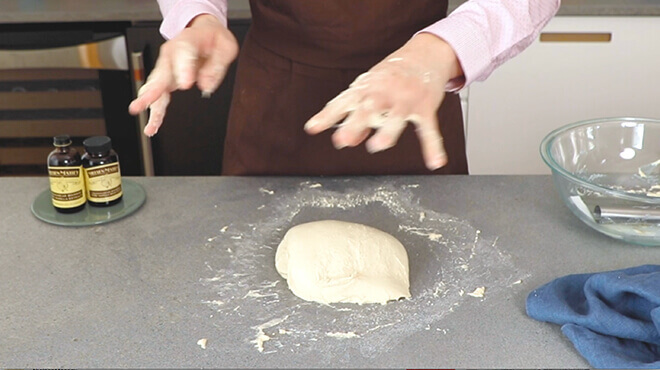
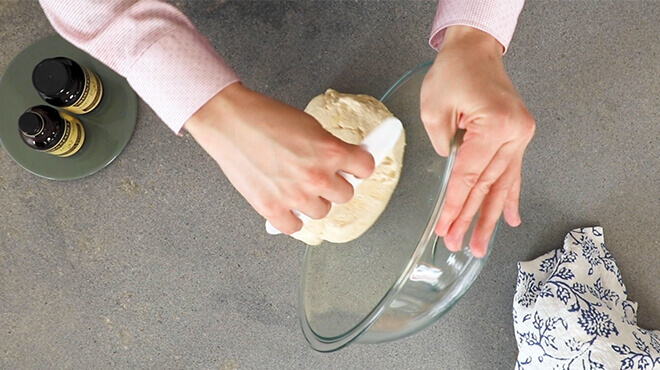
1. Remove the dough from the bowl with a bench scraper and place it on a clean, dry countertop. Do not flour the countertop first.
2. Grab the right side of the dough with both hands, with your fingers under the dough and thumbs on top.
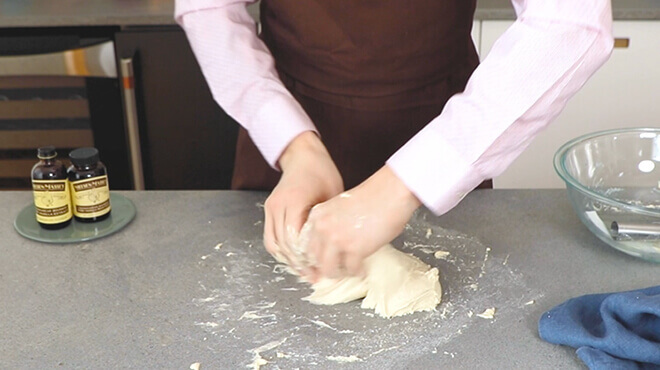
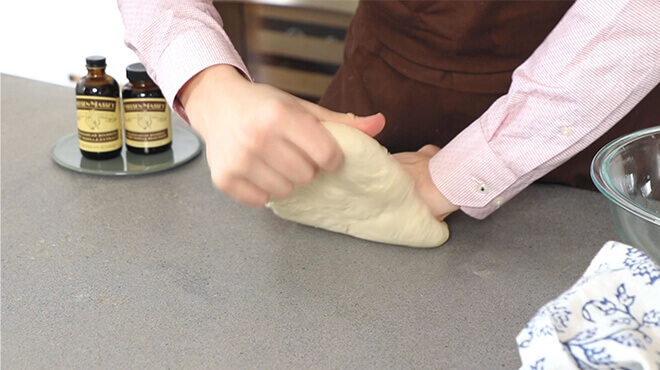
3. In one motion, pick up the dough, rotate it 90°, flip the dough towards you, and gently slap the dough down on the counter so that one half sticks to the counter.
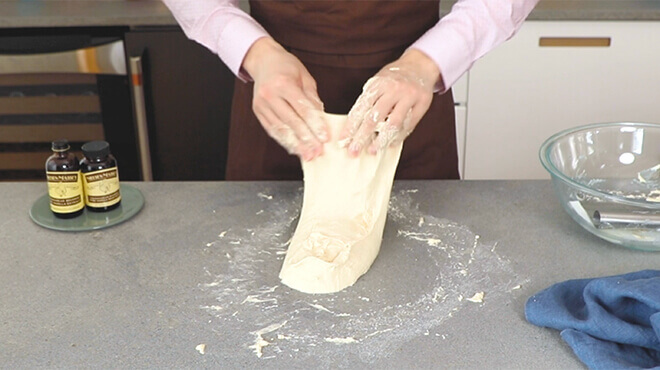
4. Gently stretch the half of the dough you’re holding upwards and fold it away from you, over the dough stuck to the counter.
5. Repeat for 15-30 minutes, rotating the same direction each time, until dough is smooth and fully kneaded.
Stretch and Fold
1. Remove the dough from the bowl with a scraper and place it on a clean, dry countertop. Do not flour the countertop first.
2. Use one hand to hold down the side of the dough closest to you.
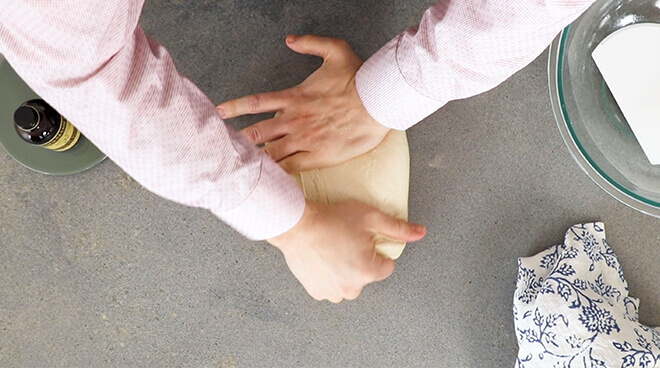
3. With the other hand, grab the other half of the dough and stretch it away from you.
4. Fold the dough toward you back on top of itself and rotate 90°.
5. Repeat for 10-30 minutes, rotating the same direction each time, until dough is smooth and fully kneaded.
Pro tips:
Windowpane test: Perform the windowpane test to see if your dough is fully kneaded. Gently stretch a small portion of the dough. If properly kneaded, it will be elastic and form a thin membrane you can see light through. Under-kneaded dough will break when stretching because the gluten is not well-developed. In this case, keep kneading. Over-kneaded dough will feel tight when stretching and break. If dough is over-kneaded, try letting your dough rest longer before shaping it to relax the gluten and improve the texture.

Rest your dough: If the dough is starting to feel tight and resists stretching as you knead, allow it to rest for five minutes before continuing. This helps to prevent over-kneading by relaxing the gluten and will improve the bread’s texture once baked.
Visual cues: Visual cues will let you know if your dough is properly kneaded. Properly kneaded dough will appear smooth instead of rough and shaggy. The dough will also hold its shape. Poke the dough with your finger – if the indent fills in quickly, the dough is properly kneaded. If the indent stays for a long time, continue kneading to develop the gluten.