How to Make Your Own Sourdough Starter
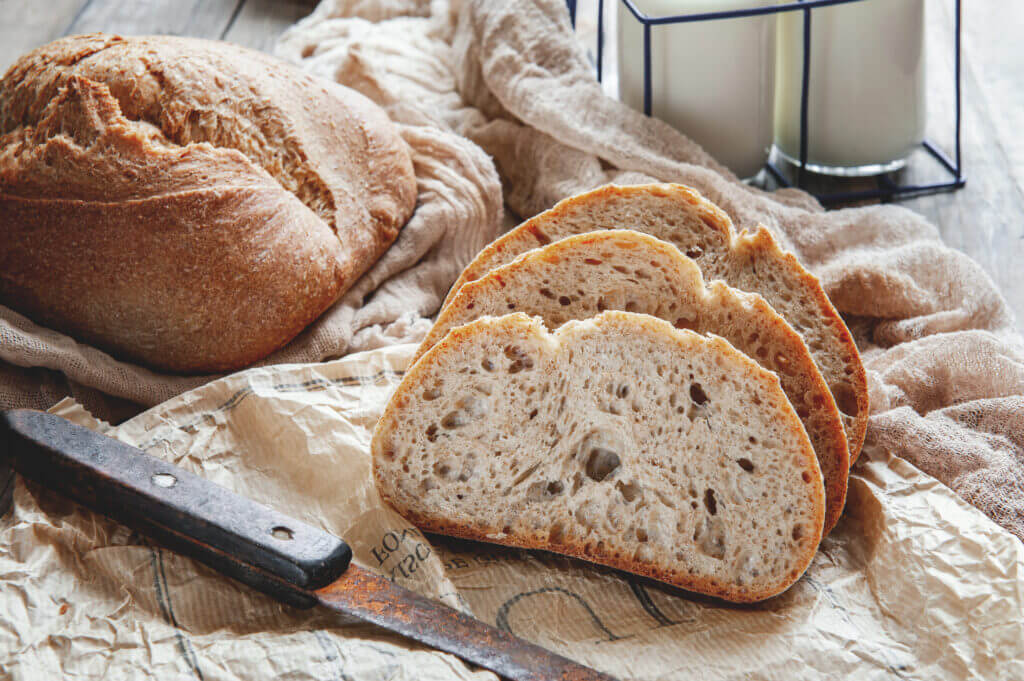
With the rise in popularity of fermented foods, you’ve likely noticed renewed interest in sourdoughs at your local bakeries, grocery stores and on your social media feeds. Sourdough breads are made from a sourdough starter that gives them their signature tangy flavor and airy texture.
Though it is made from two common ingredients, a sourdough starter can take on different flavor profiles — varieties of wild yeast, climate and environmental conditions affect its development. With equal parts flour and water, and a bit of time and dedication, you can build your own unique sourdough starter to make delicious fermented homemade breads and pastries.
What is a sourdough starter?
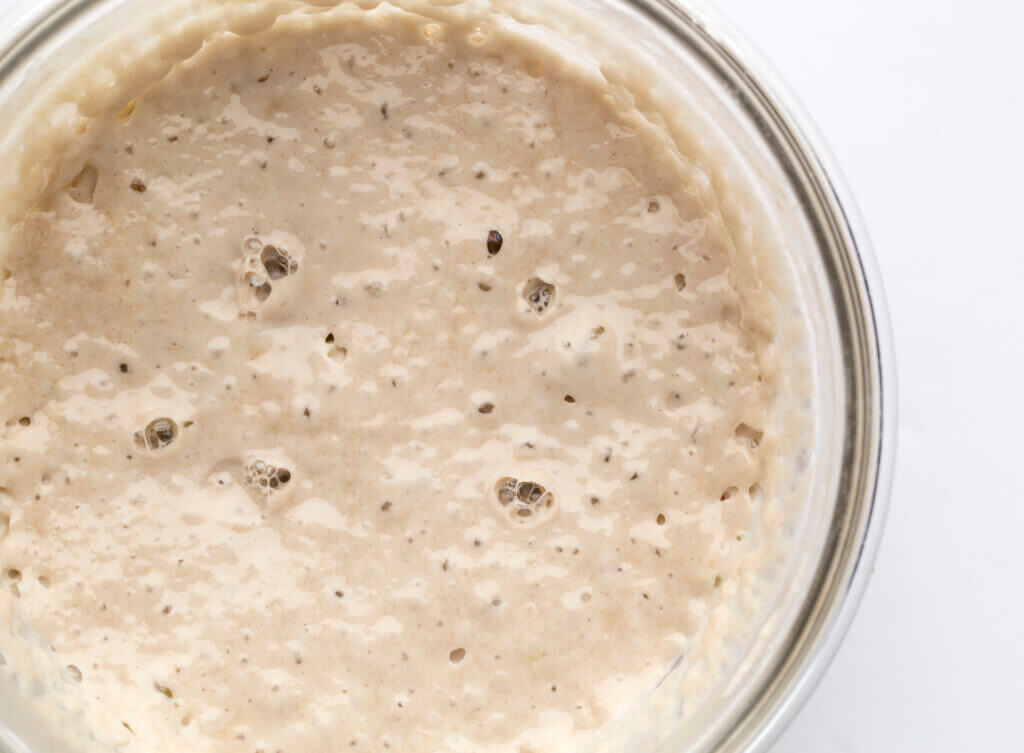
A sourdough starter is a slurry of equal amounts water and flour that ferments when left at room temperature for about five days. When it’s time to bake your bread, this starter will act as the leavening agent, making the bread rise in the oven and giving it an airy texture. Depending on how often you bake, you can store your starter at room temperature or inside your fridge, adjusting your feeding levels accordingly.
Why should you make a sourdough starter?
If you want to make true sourdough bread, you must start with a sourdough starter. It’s essential for the tangy taste and texture of the bread.
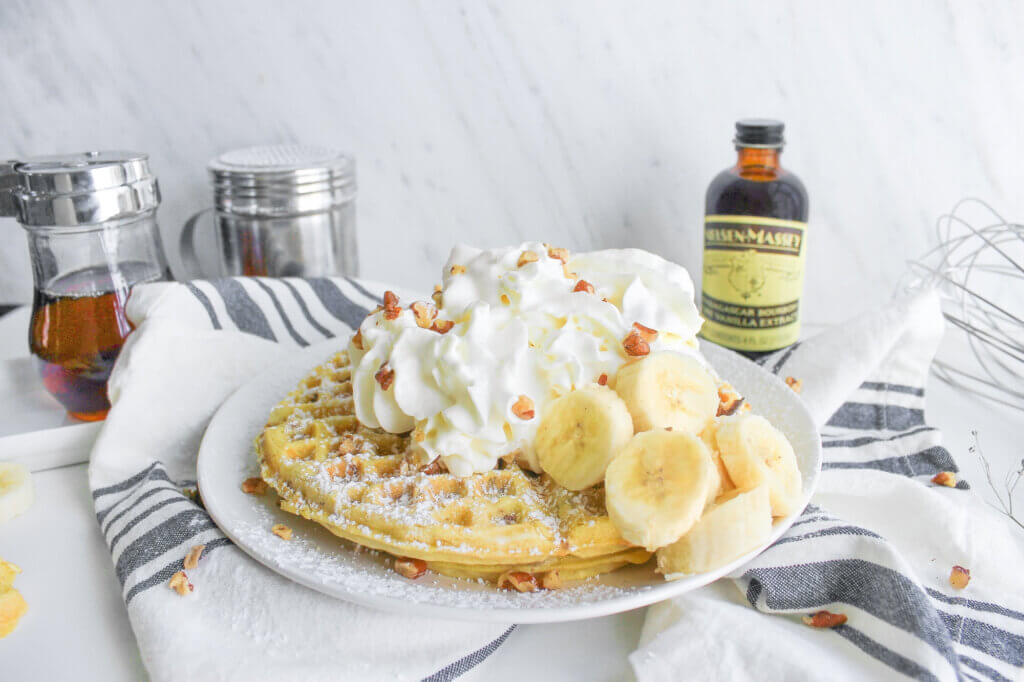
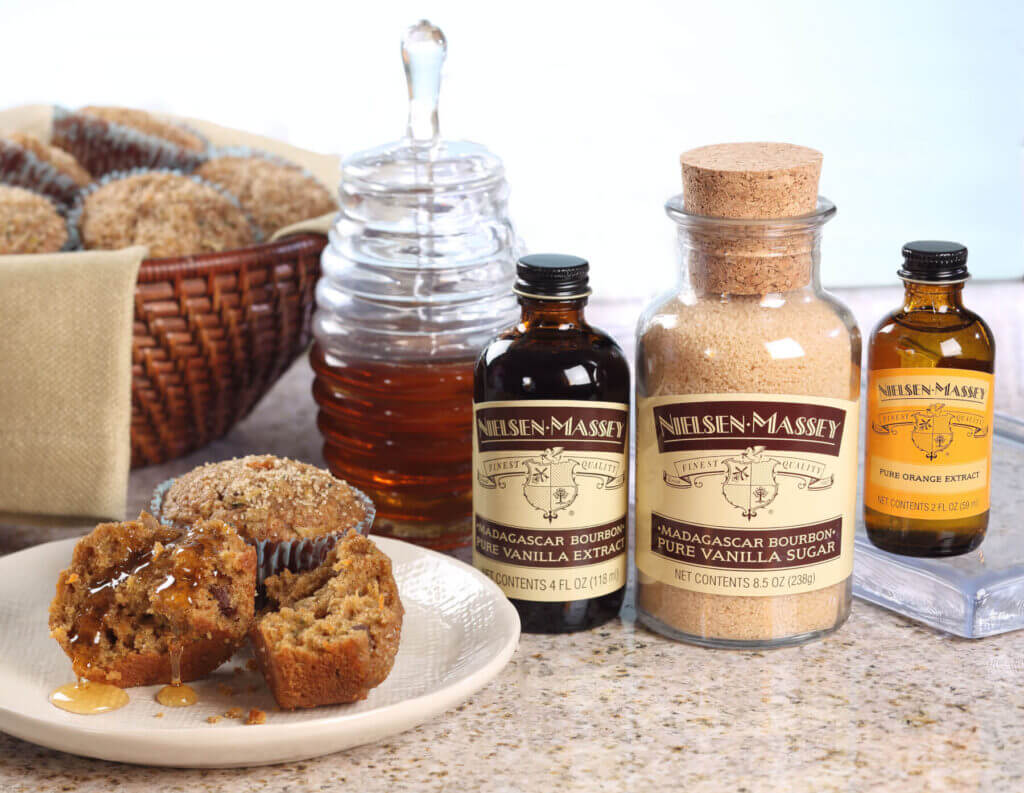
Once you have a starter, it also makes a delicious addition to other recipes like pancakes, banana bread, and muffins. It can take the place of other leavening agents such as baking powder or yeast to give a fluffy texture to your baked goods and pastries. Plus, you must discard some of the starter every time you feed it, so you might as well put that tasty tidbit to good use!
You can also share some of your starter with a friend or family member so they can use it, too. A sourdough starter is truly the gift that keeps on giving — with proper care, starters live indefinitely and can be passed down for years.
How do you make and keep a sourdough starter?
To make a sourdough starter, you start with a 1:1 ratio by weight of flour to room-temperature water. The water temperature is important here – you want to make sure that the natural yeast in the flour can activate, which won’t happen if the water is too cold or warm. It’s also best to use a whole grain, unbleached flour, such as rye flour, as it has more wild yeast and nutrients to support fermentation. Wild yeast is found naturally in the flour and the air in your kitchen – the yeast is safe to consume and will help leaven the bread and produce its unique sour flavor.
Each day for about five days (or until your starter at least doubles in size), you will discard some of your starter and feed it with a 1:1 ratio of flour to water. This discarding and feeding process may take longer than five days depending on the environment the starter is in. You will know your starter is active if you see bubbles, with the starter appearing airier and frothier each day. You will also notice a tangy, sour smell developing throughout the fermentation process.
Follow this feeding schedule:
Day 1: Mix 4 ounces of flour with 4 ounces room temperature water. Place your slurry of water and flour into a clear, medium-sized jar. At this point, you can mark the height of your slurry using a piece of tape or rubber band over the jar – this will help you monitor the size and activity of your starter. Cover the jar with a tea towel and let sit at room temperature until the next day.
Day 2: Discard all but 4 ounces of starter. Stir in 2 ounces of flour and 2 ounces room temperature water. Cover with a tea towel and let sit at room temperature until the next day.
Day 3: Discard all but 4 ounces of starter. Stir in 2 ounces of flour and 2 ounces room temperature water. Cover with a tea towel and let sit at room temperature until the next day.
Day 4: Discard all but 4 ounces of starter. Stir in 2 ounces of flour and 2 ounces room temperature water. Cover with a tea towel and let sit at room temperature until the next day.
Day 5: Discard all but 4 ounces of starter. Stir in 2 ounces of flour and 2 ounces room temperature water. Cover with a tea towel and let sit at room temperature for 6 to 8 hours, or until your starter is at least double in size.
To test the readiness of your starter, fill a cup ¾ full with cold water and place a small spoonful of starter on top of the water. If the starter floats, it’s ready to use. If it the starter sinks, let it ferment another 30 minutes and repeat the test.
Once ready, you can keep your sourdough starter out at room temperature and feed daily, especially if you’re an avid baker and plan to use it often. Otherwise, you may store it in the fridge and feed weekly. Growth will slow in the fridge, but the cold air will not kill your starter.
How do you use sourdough starter in a recipe?
When making traditional sourdough bread such as our Sourdough Kulich, the recipe will typically call for an amount of mature sourdough starter. If you’re storing your starter in the fridge, remove it the night before and allow to sit at room temperature to give the yeast time to activate. Once it looks alive and bubbly, you can start mixing your dough.
Sourdough starter can also be used in other recipes to give them a tangy, complex flavor and experiment with new trends. Follow these general rules:
-
- When substituting sourdough starter into a recipe, subtract the weight of the starter from the weight of flour and water in the recipe.
-
-
- Ex: A recipe calls for 8 ounces of flour and 4 ounces of water, and you want to add 8 ounces of sourdough starter. You will need to subtract 4 ounces of flour and 4 ounces of water from the amount the recipe calls for when measuring out your ingredients.
-
-
- For yeasted breads, 1 cup of starter is roughly equivalent to 1 package of yeast in terms of leavening power. The amount of flour and water added to the recipe will need to be decreased according to how much starter was added to account for the added moisture/ingredients. The fermenting time for the bread is doubled as well; where regular yeast needs to proof for two hours, starter needs up to four hours to proof.
-
- In quick breads, substitute 1 cup of starter for some of the flour and water and add the baking powder and/or soda right before cooking/baking. This allows for maximum flavor and leavening. If you’re using sourdough starter for flavor and leavening, allow batter to sit for four hours; otherwise add when ready to cook/bake.
Note: It’s important to plan ahead when using a sourdough starter to ensure you have enough starter for your recipe, plus 4 ounces to leave behind for feeding and use in other recipes. If a recipe requires more than 4 ounces of starter, feed the starter more flour and water than usual the previous day, keeping the 1:1 ratio by weight.
Try adding your sourdough starter to these recipes to whisk things up:
1. Brown Butter Banana and Pecan Waffles
2. Sunrise Zucchini Bran Muffins with Madagascan Honey
3. Russian-Style Apple Pancakes with Sweet Vanilla Sour Cream

We hope sourdough seems less daunting now, as it just needs a little love and care that goes a long way. Share your sourdough starter and how you’re adding it to your creations by tagging us @NielsenMassey and using #BetterYourBake.