Honey Nut Cup Kickoff Candy
Whether you plan to tailgate or watch the games at home this football season, this recipe for chocolate candy with a honey nut filling is a delectable way to bring your team spirit to the next level. These candies are easy to customize with your favorite team’s colors. Don’t be surprised if your friends and family name you the MVP of treats after you make these.
Ingredients
Candy Shell
- ¼ cup white candy melts
- 1 cup candy melts, light cocoa color or your favorite team’s colors
Honey Nut Filling
- 5 tablespoons cashew butter, or your favorite nut or seed butter, no/low sugar preferred
- 2 tablespoons honey
- 1 ½ teaspoons Nielsen-Massey Mexican Pure Vanilla Extract
buy now - Pinch of kosher salt
Equipment
- 2 football-shaped candy molds made from plastic or silicone. Each mold should contain 12-15 individual footballs that measure roughly 1 ½ inch long each
- Small, clean paintbrush, about ⅛ inch wide
- Small, clean paintbrush, about ½ inch wide
Directions
Candy Shell
Prepare the two football-shaped candy molds by cleaning with warm water and thoroughly drying each mold.
In a microwave-safe bowl, microwave white candy melts at 50 percent power in 20-second intervals until just melted. Stir candy coating between each interval to ensure even heating and melting. Do not overheat.
Once melted, use the ⅛-inch brush to ‘paint’ melted white candy into the laces and stripes on each football. Let cool at room temperature to harden or place the molds in the refrigerator for no more than 5 minutes.
Using the same melting method, melt the remaining candy melts in a separate microwave-safe bowl. Use the ½-inch brush to paint the melted candy into each football mold to create the outer shell. Let cool at room temperature to harden or place the molds in the refrigerator for no more than 5 minutes.
Honey Nut Filling
In a small bowl, combine all ingredients using a spoon or spatula.
To fill each football, measure ½ teaspoon of filling. Roll filling into a ball and press into each football. Take care to not cover the edges of each football or let the filling mound over the top of the mold. Too much filling will prohibit the candies from lying flat once unmolded. If there appears to be too much filling, remove a little of the filling and press down again to even out.
If necessary, re-melt light cocoa candy melts. Use a spatula to fill one corner of a resealable plastic bag with the candy melts. Snip a small corner off the tip of the bag and squeeze the candy towards this corner. Pipe about ¼ teaspoon melted candy coating into the mold to cover the filling. Gently tap the mold on the counter to even out the coating and cover the filling completely. If filling isn’t completely covered, add a little more coating and repeat.
Let cool at room temperature to harden or place the molds in the refrigerator for no more than 5 minutes.
To release candies, turn molds upside down over a piece of parchment paper and gently tap on the counter to release.
Notes
Recipe created by pastry chef Jessica Ellington.
Candy Shell
- 33 grams white candy melts
- 150 grams candy melts, light cocoa color or your favorite team’s colors
Honey Nut Filling
- 5 tablespoons cashew butter, or your favorite nut or seed butter, no/low sugar preferred
- 2 tablespoons honey
- 1 ½ teaspoons Nielsen-Massey Mexican Pure Vanilla Extract
buy now - Pinch of kosher salt
Equipment
- 2 football-shaped candy molds made from plastic or silicone. Each mold should contain 12-15 individual footballs that measure roughly 4 cm long each
- Small, clean paintbrush, about 3 mm wide
- Small, clean paintbrush, about 13 mm wide
Directions
Candy Shell
Prepare the two football-shaped candy molds by cleaning with warm water and thoroughly drying each mold.
In a microwave-safe bowl, microwave white candy melts at 50 percent power in 20-second intervals until just melted. Stir candy coating between each interval to ensure even heating and melting. Do not overheat.
Once melted, use the 3 mm brush to ‘paint’ melted white candy into the laces and stripes on each football. Let cool at room temperature to harden or place the molds in the refrigerator for no more than 5 minutes.
Using the same melting method, melt the remaining candy melts in a separate microwave-safe bowl. Use the 13 mm brush to paint the melted candy into each football mold to create the outer shell. Let cool at room temperature to harden or place the molds in the refrigerator for no more than 5 minutes.
Honey Nut Filling
In a small bowl, combine all ingredients using a spoon or spatula.
To fill each football, measure ½ teaspoon of filling. Roll filling into a ball and press into each football. Take care to not cover the edges of each football or let the filling mound over the top of the mold. Too much filling will prohibit the candies from lying flat once unmolded. If there appears to be too much filling, remove a little of the filling and press down again to even out.
If necessary, re-melt light cocoa candy melts. Use a spatula to fill one corner of a resealable plastic bag with the candy melts. Snip a small corner off the tip of the bag and squeeze the candy towards this corner. Pipe about ¼ teaspoon melted candy coating into the mold to cover the filling. Gently tap the mold on the counter to even out the coating and cover the filling completely. If filling isn’t completely covered, add a little more coating and repeat.
Let cool at room temperature to harden or place the molds in the refrigerator for no more than 5 minutes.
To release candies, turn molds upside down over a piece of parchment paper and gently tap on the counter to release.
Notes
Recipe created by pastry chef Jessica Ellington.
-

20 minsprep
-
10 minschill
-

24-30candies
This Recipe Uses
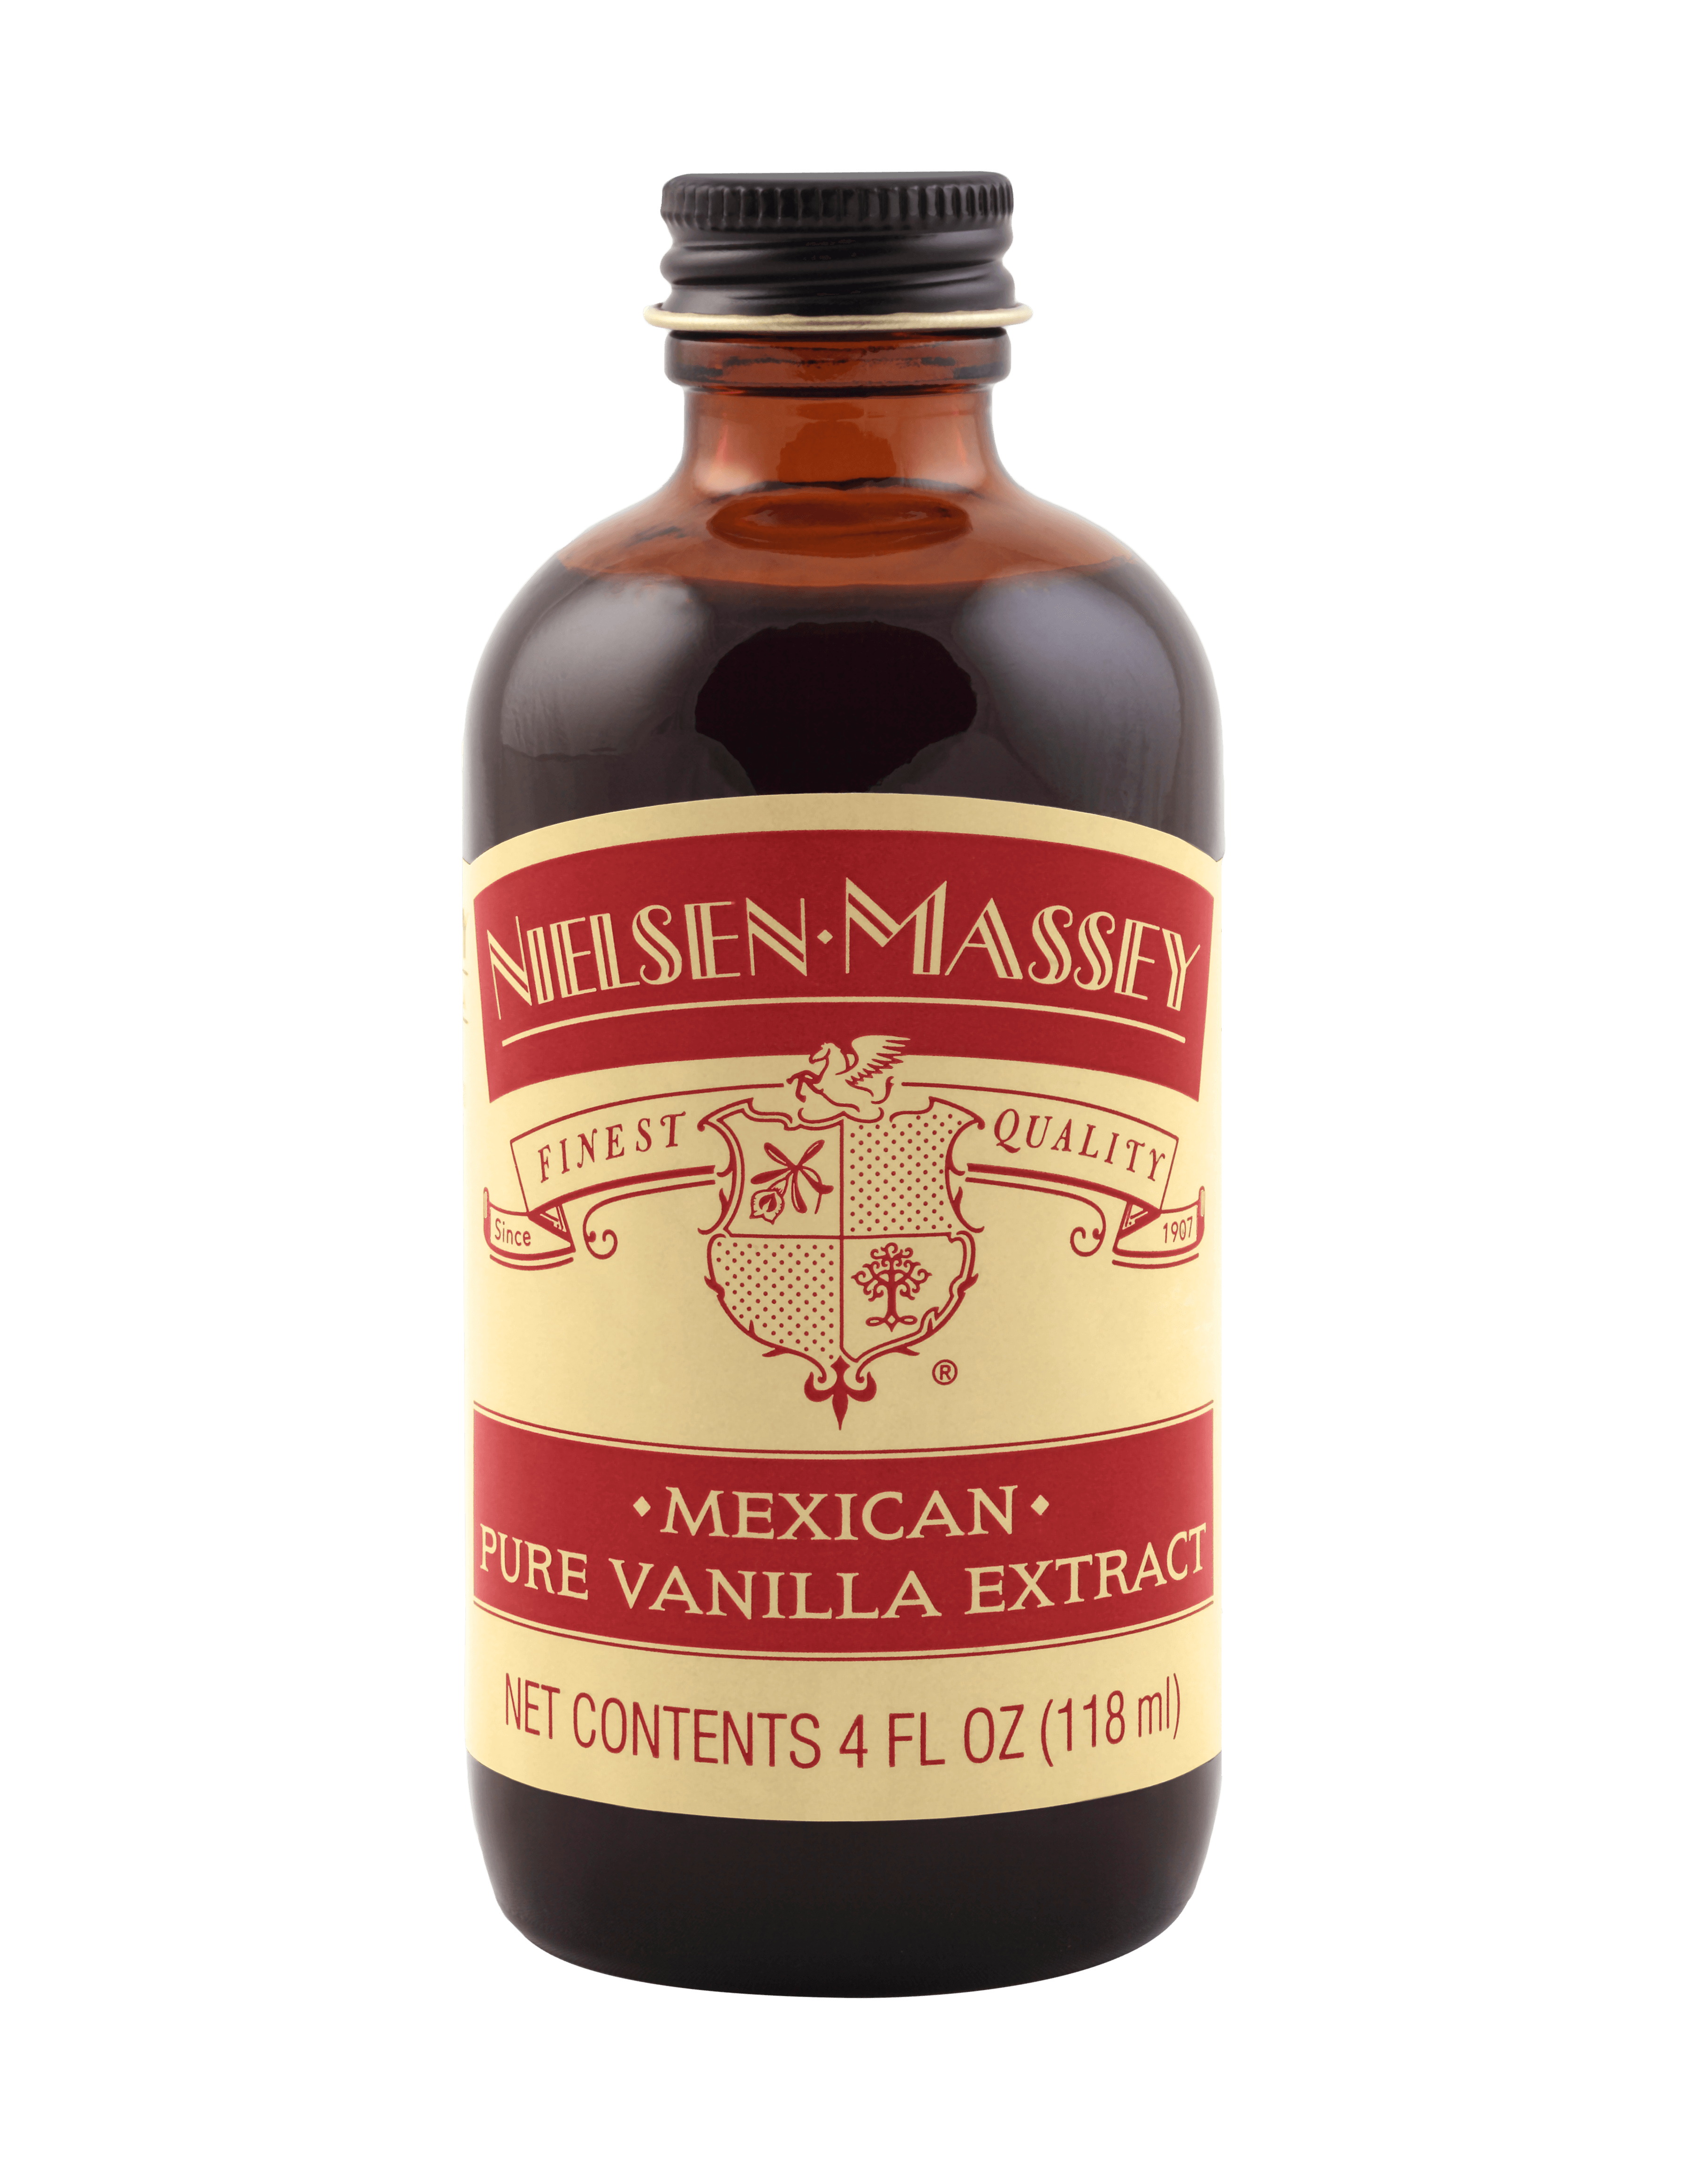
Mexican Pure Vanilla Extract
Related to this recipe
-
-

How to Prep & Use a Candy Mold
-

How to Prep & Use a Baking Mold - Video