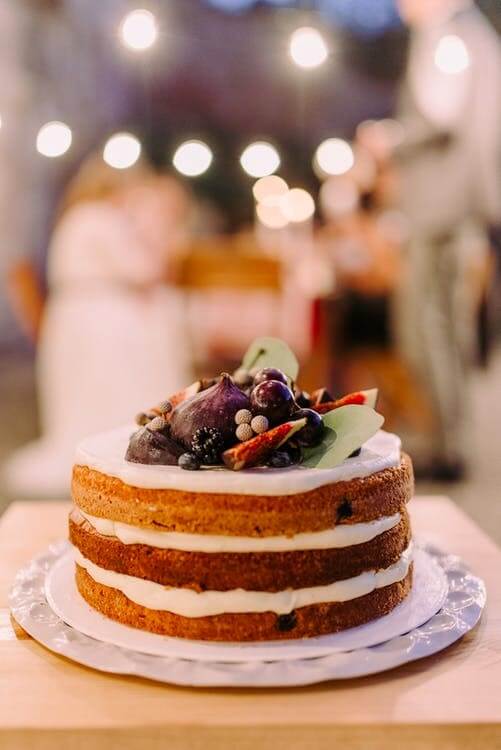
We all love to tune into the latest cake decorating challenge or baking competition show to admire the elaborate pastry designs and colorful confections. But, do you feel out of the running for the winner’s circle watching from home? Luckily, we’ve teamed up with celebrity pastry chef and cake designer Marina Sousa to share five cake decorating tips that will take your skills from dull to ta-da!
Before you begin decorating elaborate masterpieces, we suggest you familiarize yourself with the basics of cake baking. See our ultimate guide to cakes for an in-depth overview. This blog post outlines everything you need to know from the role each ingredient plays to troubleshooting pesky problems like a cracked cake. Once you’ve studied up, decorating will be a breeze!
If you start frosting and layering an uneven cake, your beautiful baked good will eventually resemble the Leaning Tower of Pisa. The trick here is to level out each layer of your cake before you assemble the final dessert. Chef Marina provides four easy steps to accomplish perfection:
Pro tip: Keep the leftover cake tops to conduct an all-important taste-test!
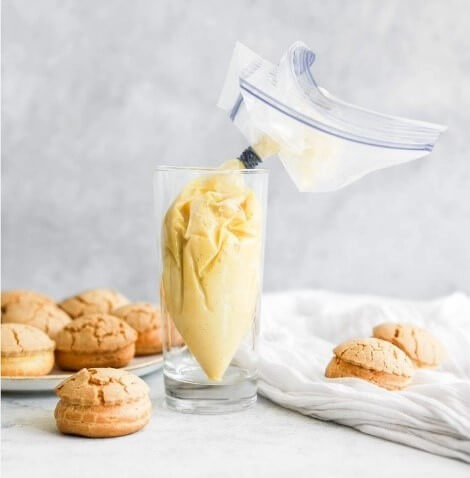
If you’ve ever frosted a cake before, you’ve probably experienced the issue where you begin to spread your delicious, smooth frosting, just to pick up crumbs from the outside layer of the cake. Not only does this impede your final design, but it’s also frustrating! The solution – add a crumb coat – it’s so easy, you’ll wonder why you didn’t think of it yourself! Follow these easy steps to ensure your decorative efforts can really steal the show.
We find ourselves watching hours of online cake decorating videos, mesmerized by how easy they make piping look. Determined to pipe with ease, just like they do on Instagram, we asked Chef Marina for some advice. From her extensive experience, she tells us the correct angle can make all the difference when piping. Here are the steps she shared:
Pro Tip: Practice piping on parchment paper or the leftover layer of cake from tip two. Each tip results in a different design, so get creative!
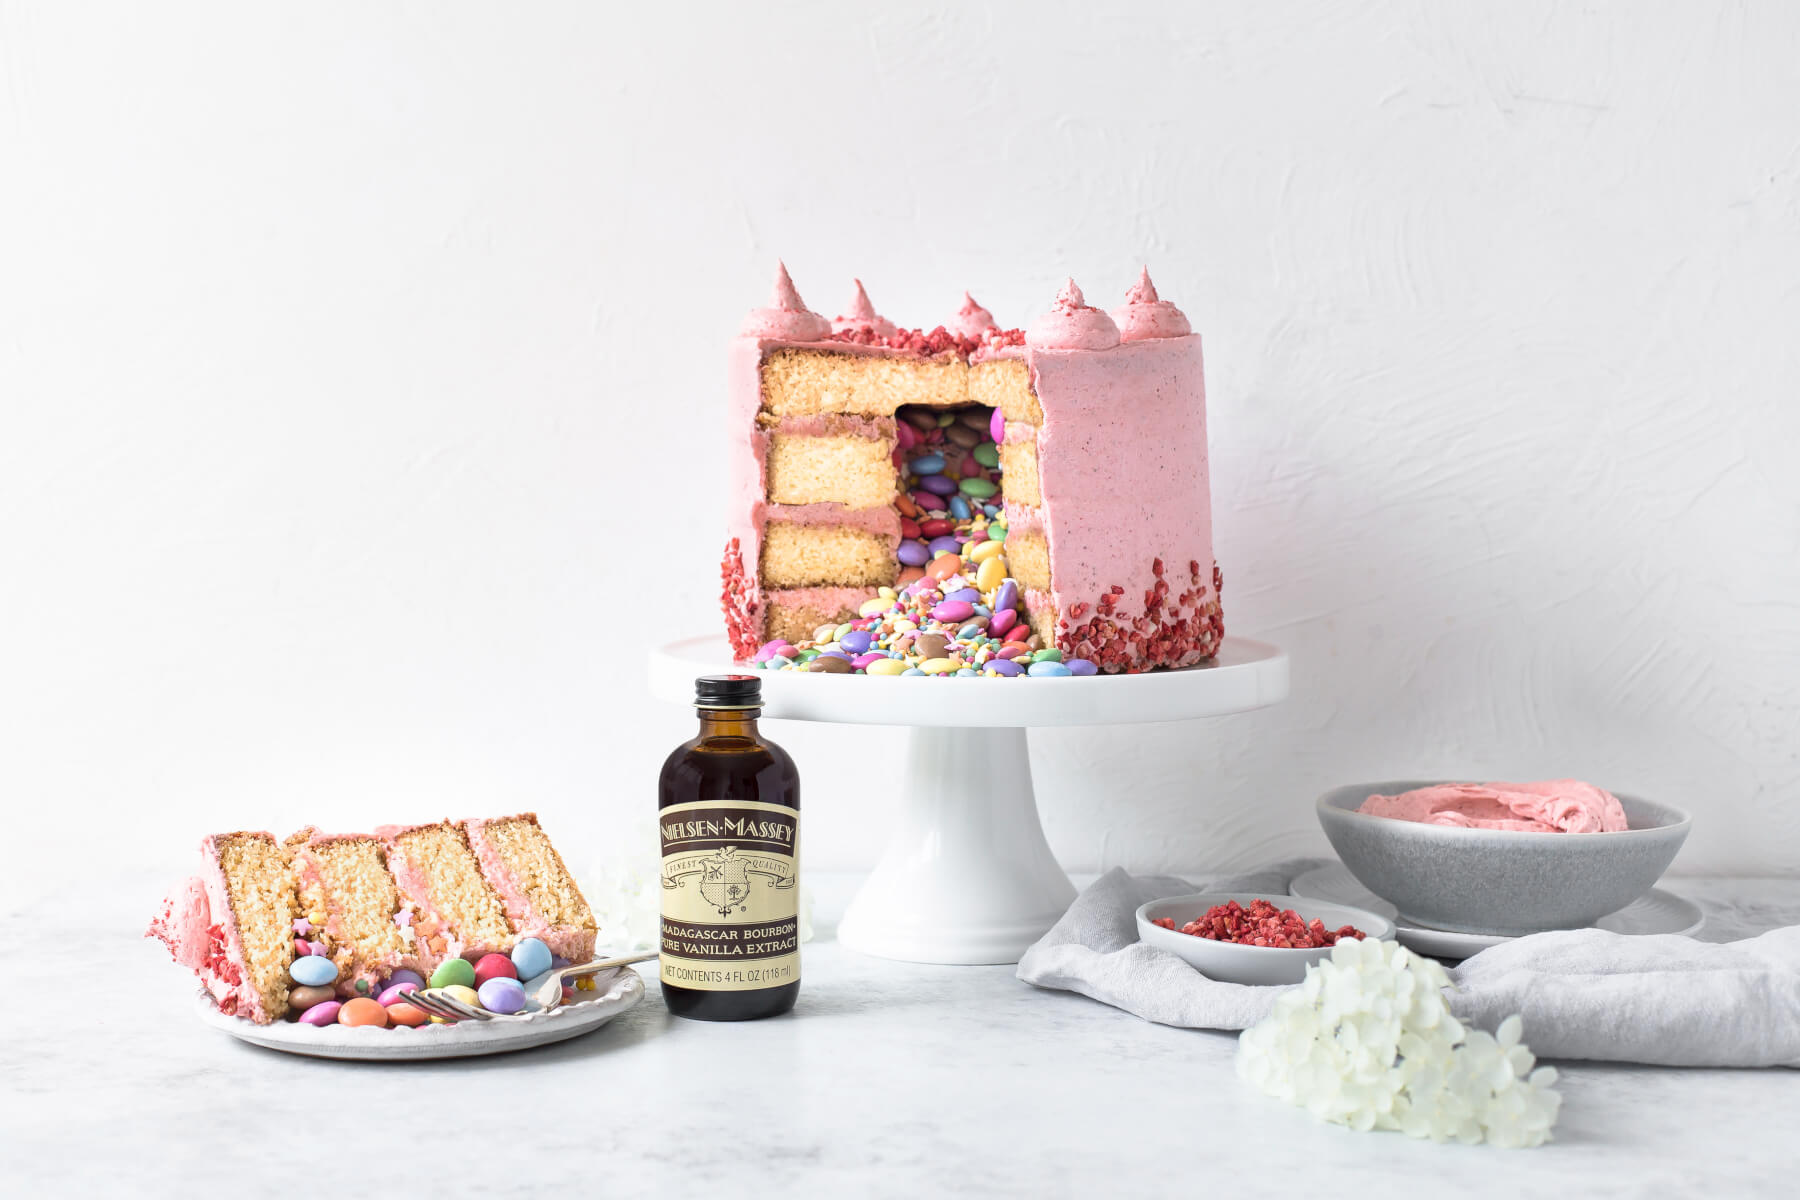
Adorn your cake with beautiful designs and finishings to really realize its full potential. How to do it? Use molds and fondant! In fact, this is one of Chef Marina’s specialties. Check out her website to browse the very designs she uses to polish cakes for her A-list clients.
Fondant and molds can be a little tricky to work with, so keep playing with it until you get more comfortable with this new technique. Here is the method we learned from Chef Marina:
There you have it! Five cake decorating tips from the expert cake decorator! Once you put these lessons into practice, share your creations with us on Instagram, Facebook or Twitter, tagging #NielsenMasseyInspires!
Sign up to receive Nielsen-Massey news, recipes, promotions and more.
If your calendar always seems to fill-up with birthday parties or baby showers this time of year, you’re not alone. The CDC reports the months of August and September have the highest numbers of birthdays nationally, and there’s one thing no birthday would be complete without – birthday cake! Post Views: 3,139
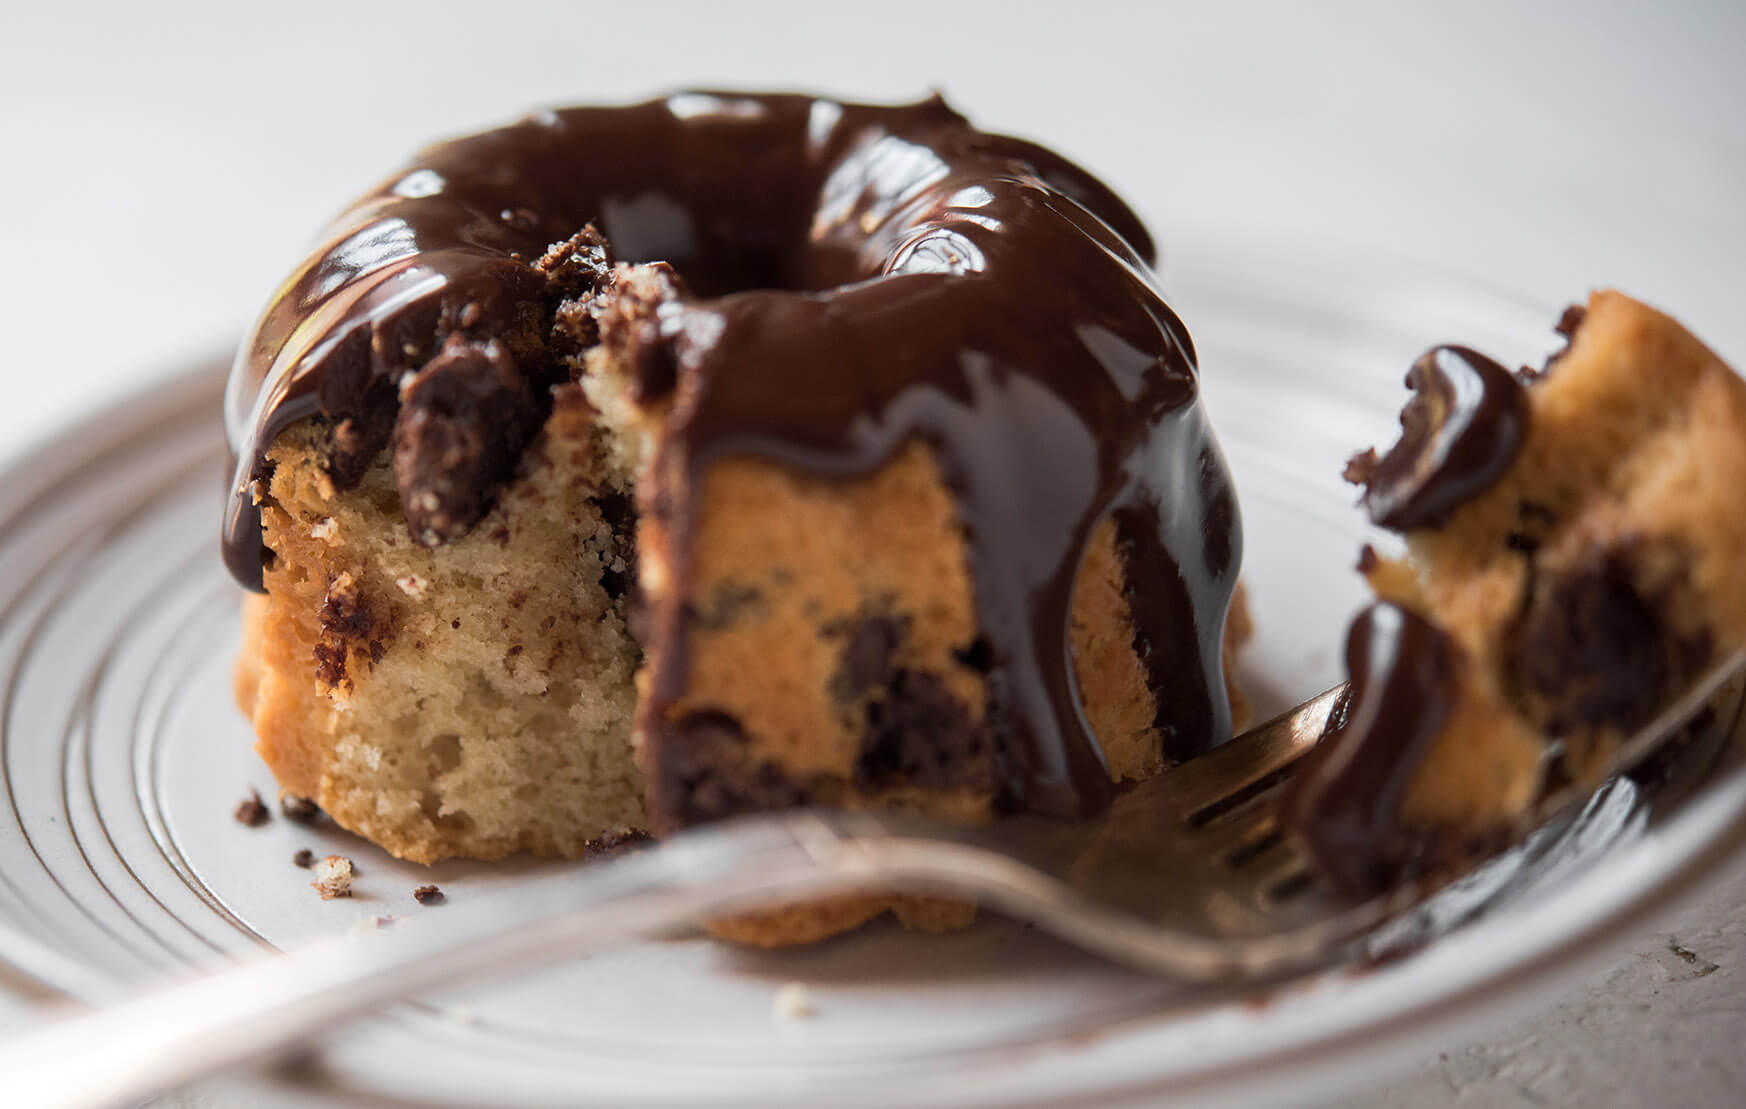
Sweeten up your kitchen with our favorite bite-sized desserts. Whether you’re hosting brunch with friends or looking for a gratifying way to wrap-up family dinner, the recipes below are sure to satisfy your sugar craving. Post Views: 1,873
Have you ever noticed that the urge to bake increases as the temperature drops outside? You are definitely not alone.